A Windows recovery drive can help you reach the Windows Recovery Environment when the PC will not start. Creating it and proving that the PC can boot from it are two separate tasks.
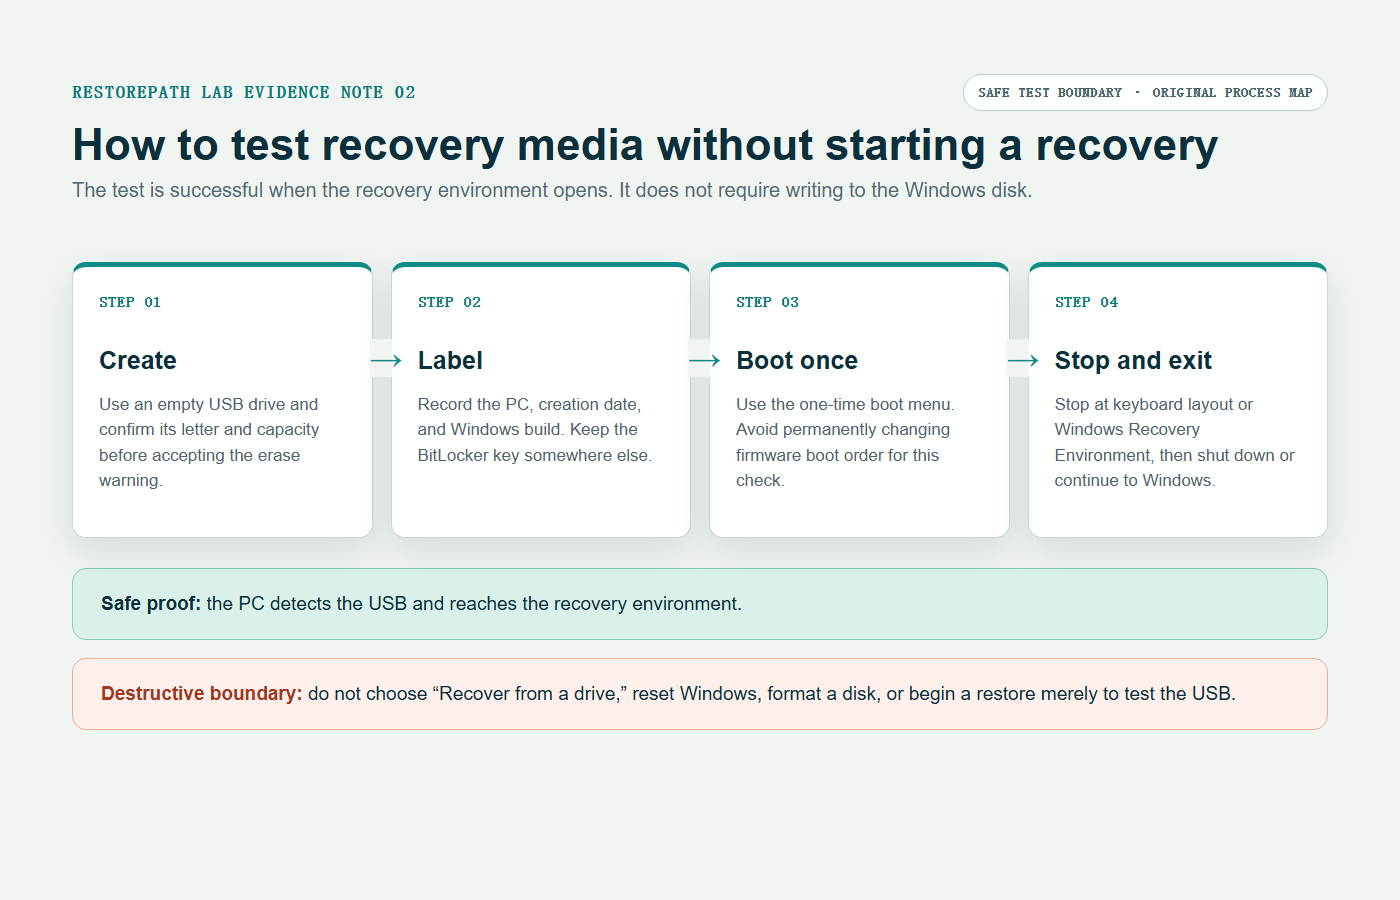
The creation and boot-check sequence was reviewed against Microsoft's Recovery Drive guidance on July 28, 2026. We did not start a reinstall, reset, format, or restore. Those actions are unnecessary for confirming that recovery media is detected and can open the recovery environment.
Know what a recovery drive contains
A recovery drive provides Windows recovery tools and can optionally include system files used for reinstalling Windows. It does not back up your documents, photos, or other personal files. Keep a separate file backup.
If you are deciding what else to prepare, compare the different jobs covered by File History, a system image, and recovery media. The recovery drive helps you reach repair or reinstall options; it does not replace either of those backup layers.
1. Prepare the USB drive
- Connect the PC to reliable power.
- Insert an empty USB drive. Disconnect other removable drives to reduce the chance of choosing the wrong one.
- Open File Explorer and note the USB drive's letter, label, and capacity.
- Back up the BitLocker recovery key for the Windows drive if device encryption is enabled.
2. Create the recovery drive
- Open Start and search for Recovery Drive. You can also press Windows + R, enter recoverydrive.exe, and approve the prompt.
- Leave Back up system files to the recovery drive selected if the option appears and you want reinstall capability. This takes more space and time.
- Select the USB drive by the letter and capacity recorded earlier.
- Read the erase warning, confirm the destination again, then choose Create.
- Wait for the completion message before closing the tool or removing the drive.
Creation time varies with the USB drive and whether system files are included. A long wait by itself is not proof of failure; an error message or a drive that disconnects repeatedly is.
3. Label and store it
Label the drive with the PC name or model and the creation date. Store it away from the laptop, but near the BitLocker recovery key location. Do not write the recovery key on the same USB drive.
4. Perform a safe boot check
- Save work, close applications, and shut down the PC.
- Insert the recovery drive and use the manufacturer's one-time boot menu key. Common keys include F12, F9, Esc, or a dedicated recovery button; confirm the correct key in the PC manual.
- Select the USB device once. Do not permanently change firmware settings if a one-time boot menu is available.
- A successful check reaches a keyboard-layout screen or the Windows Recovery Environment.
- Choose the option to shut down or continue to Windows. Remove the USB drive before the next normal start.
If the USB drive does not boot
- Confirm the PC can see the USB device in its one-time boot menu.
- Try a different built-in USB port, especially if a hub or dock was used.
- Recreate the recovery drive on another known-good USB drive.
- If storage or network hardware is missing inside recovery, the recovery environment may need a driver.
- Keep Windows installation media as a second route to recovery tools if the recovery drive remains unreliable.
When to recreate it
Microsoft recommends recreating recovery media periodically because Windows security and performance updates are not automatically added to an existing recovery drive. Recreate it after major hardware or Windows changes, and repeat the non-destructive boot check.
Official references: Microsoft's recovery-drive guide, Windows Recovery Environment, and Windows recovery options.